EV Charger
INVLocal supports the GivEnergy EV Charger via two connection methods. Once connected, the charger appears on the Dashboard alongside your inverter and batteries.
Connection methods
Section titled “Connection methods”Modbus TCP (direct) - INVLocal connects directly to the charger on port 502 over your local network. The charger must be on the same network and reachable by IP.
For Modbus to work, the charger must meet all of the following requirements:
- A firmware version that supports local control, at least 1.12
- Local control enabled in the GivEnergy portal
- The device connected by WiFi
To enable local control in the GivEnergy portal:
- Go to the GivEnergy portal (https://givenergy.cloud)
- Locate the EV charger
- Go to Settings -> Other and toggle “Local Control” to “on”
- Wait for the device to restart and start the server, which can take around 10 minutes
OCPP (via Home Assistant) - INVLocal connects to Home Assistant which relays commands to the charger via OCPP. On first connection you’ll be prompted for a long-lived access token from your Home Assistant profile page. Paste it in, or scan a QR code if your HA instance supports it. The token is saved alongside the device - you only need to enter it once.
Status
Section titled “Status”A large indicator shows the current charging state:
| State | Description |
|---|---|
| Idle | Charger is ready, no vehicle connected |
| Plugged In | Vehicle connected, not yet charging |
| Starting | Charge session initialising |
| Charging | Actively charging; shows current draw in kW |
| Waiting | EV is connected but the charger is holding off (schedule, limit, or command) |
| Stopping | Transitioning to stopped |
| Scheduled | Waiting for a scheduled charge window |
| End of Charging | Session completed |
| Startup Failure | Charger failed to start a session |
| System Failure | Hardware or communication fault |
| Updating | Firmware update in progress |
| Unstable CP | Control pilot signal issue |
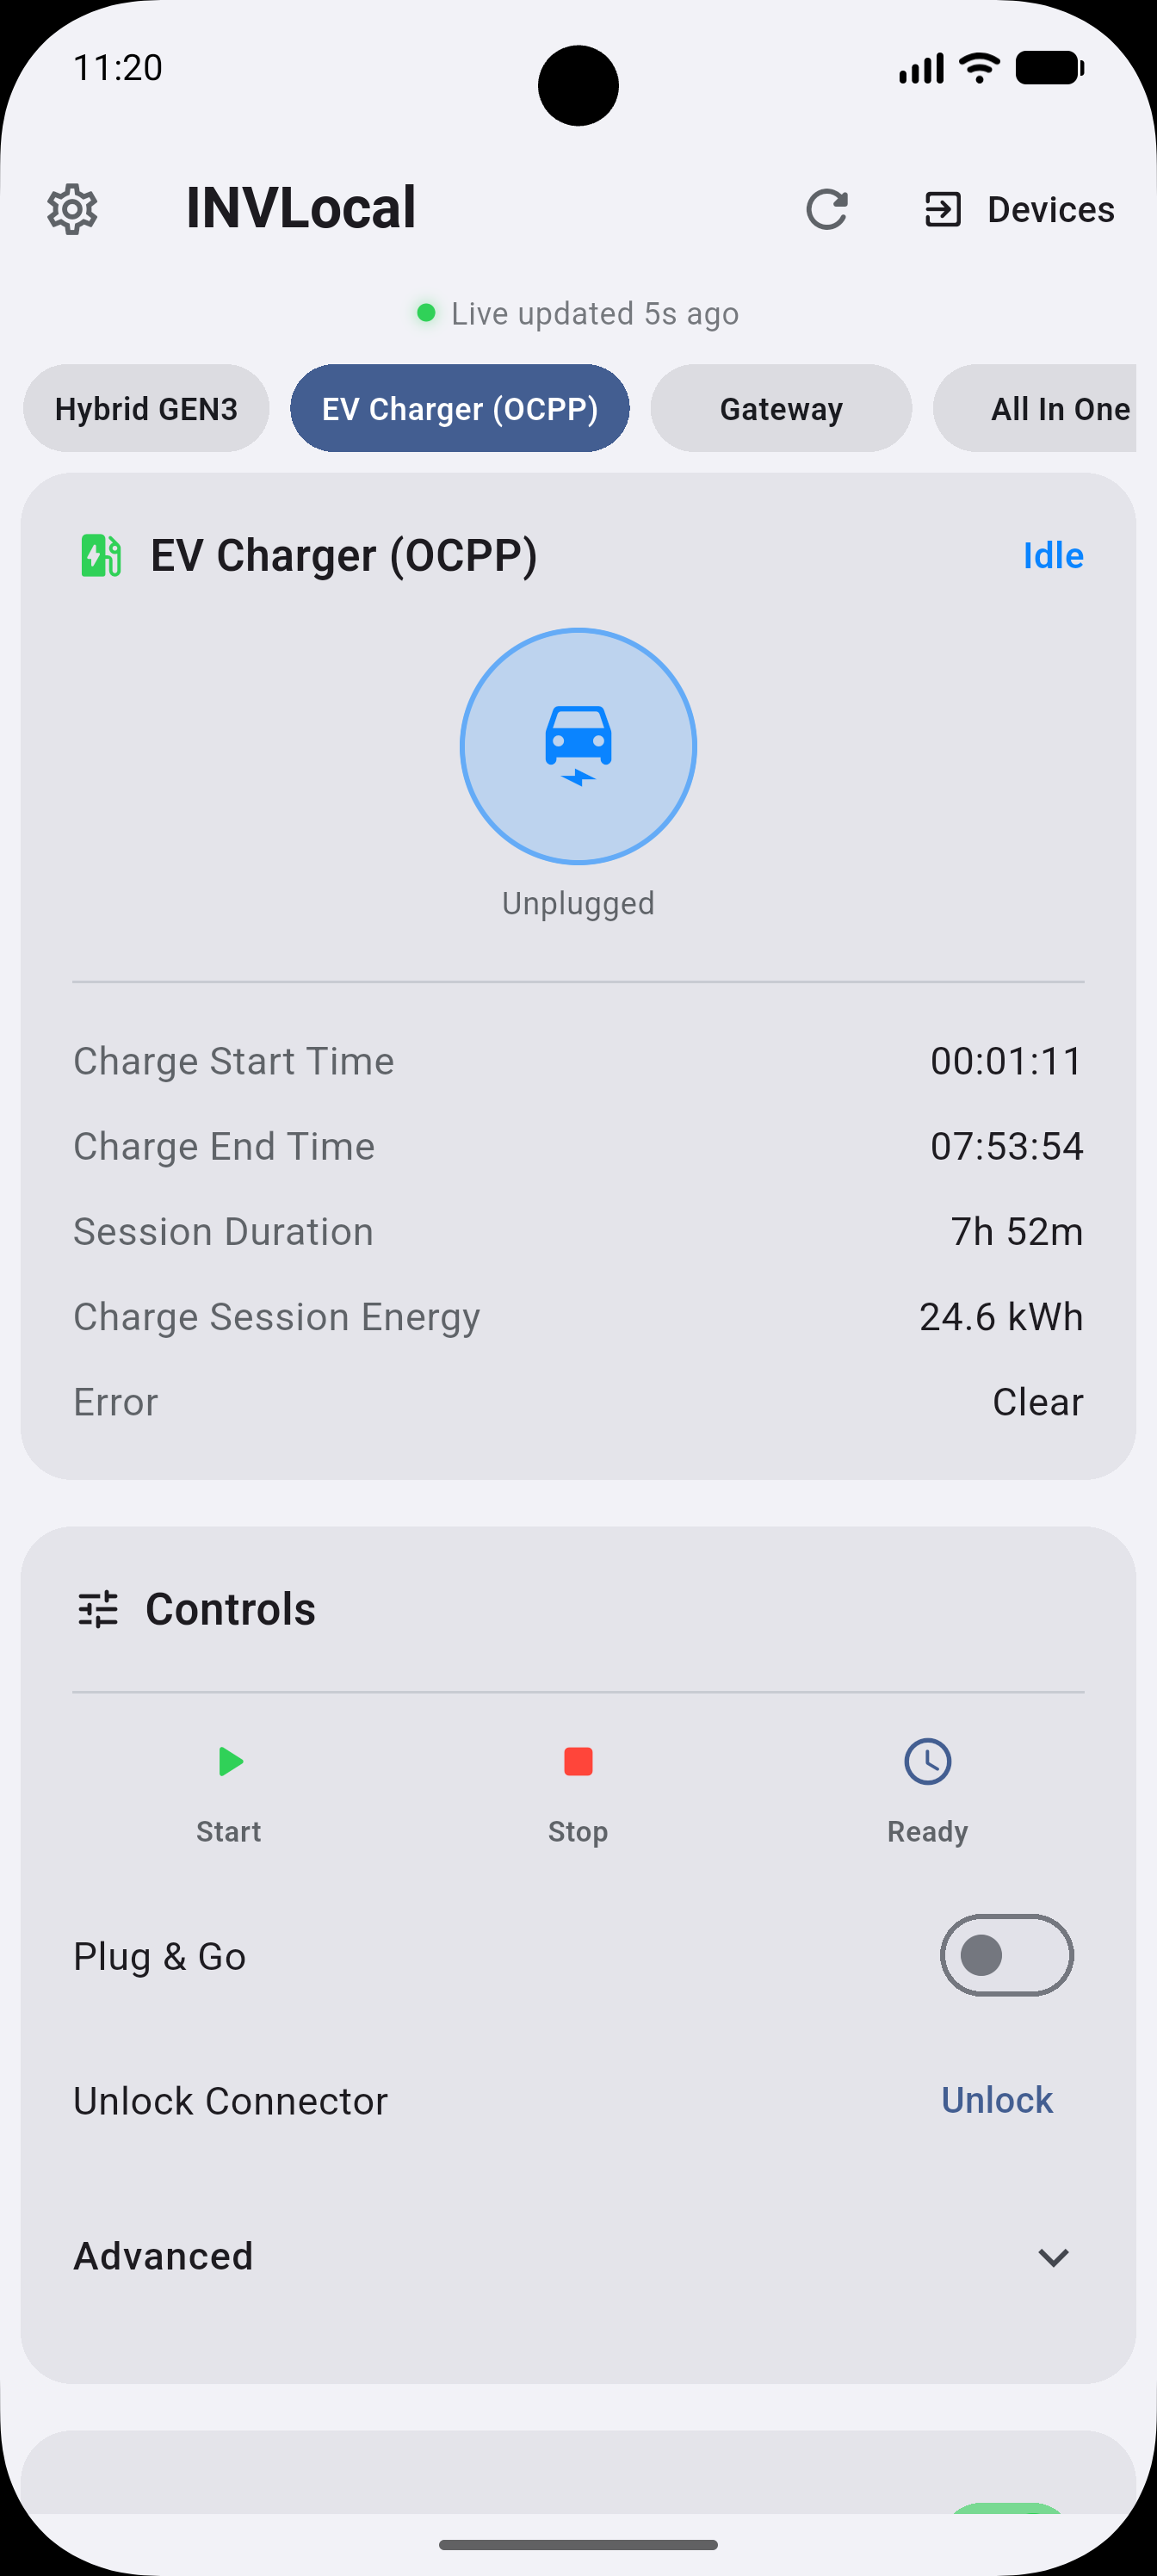
Below the status indicator you’ll see session energy delivered (kWh), session duration, and any active error codes. If an error code is shown, consult the GivEnergy EV Charger documentation or contact your installer.
Controls
Section titled “Controls”| Control | Available on | Description |
|---|---|---|
| Start | Modbus + OCPP | Begin a charging session |
| Stop | Modbus + OCPP | End the current session |
| Ready | Modbus + OCPP | Put the charger into a ready state |
| Plug & Go | OCPP only | Plugging in immediately starts charging without any further action |
| Unlock Connector | OCPP only | Releases the connector latch |
| Sync Clock | Modbus only | Synchronises the charger’s internal clock to your phone |
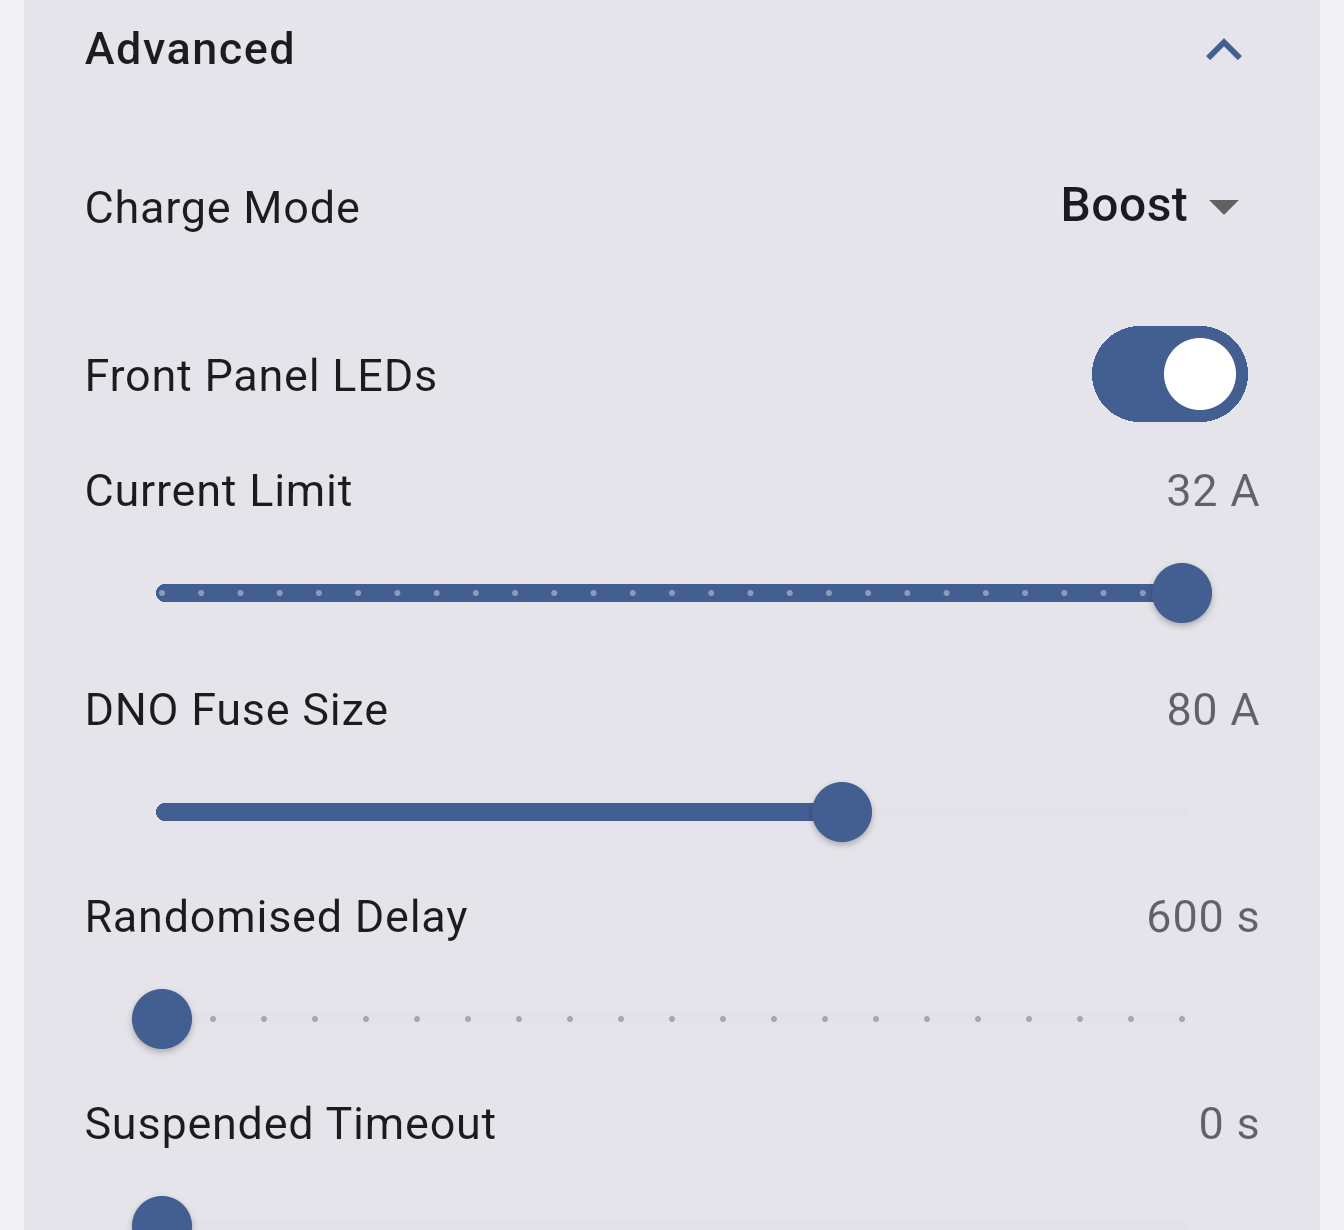
Advanced controls (OCPP only)
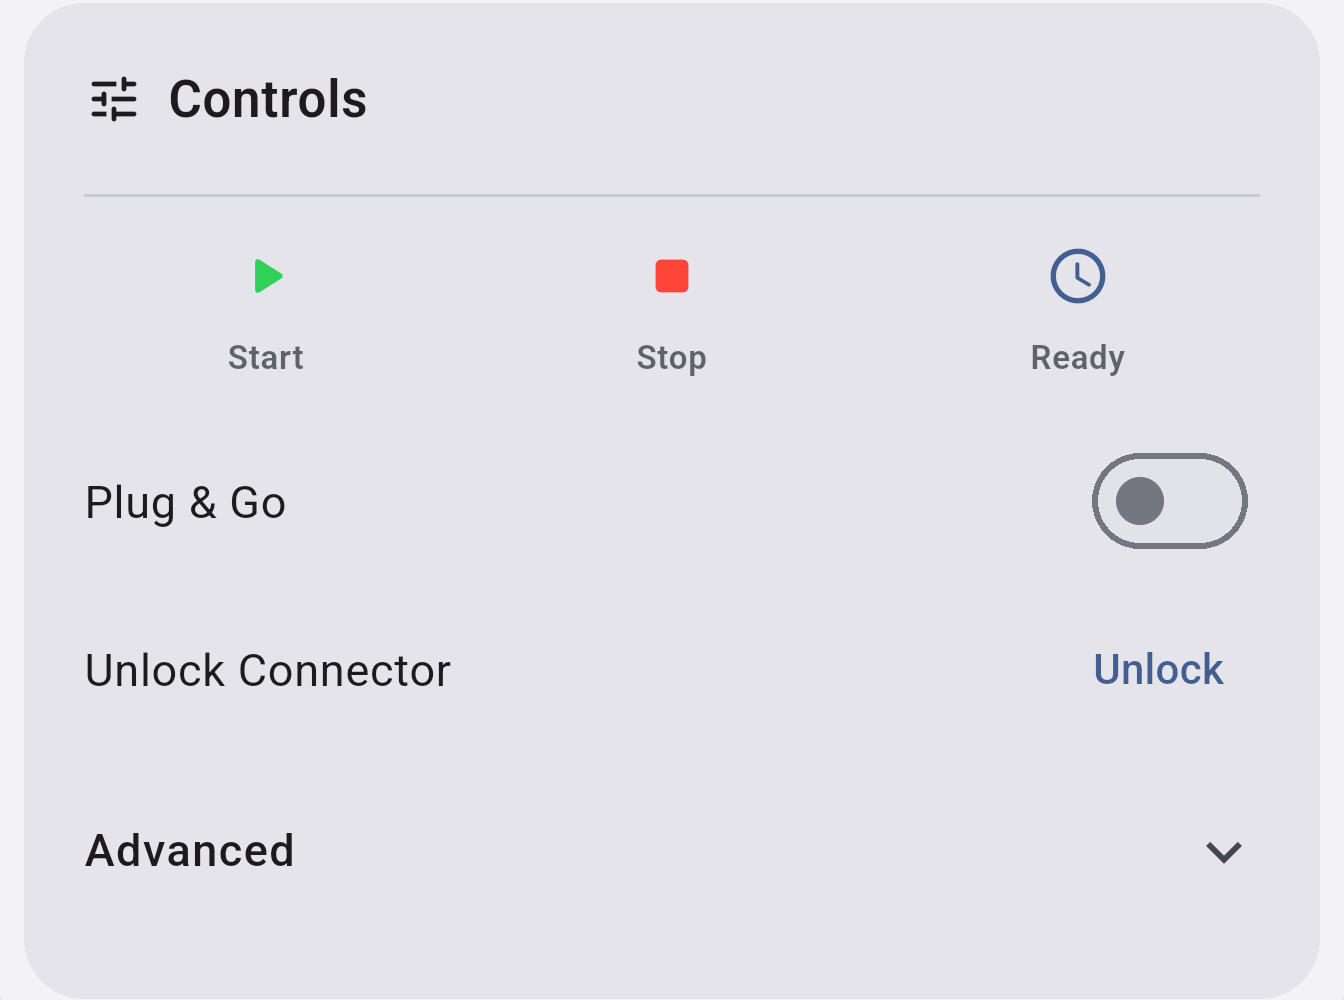
Section titled “Advanced controls (OCPP only)”Expand the Advanced section for less frequently changed settings:
| Setting | Description |
|---|---|
| Charge Mode | SuperEco, Eco, Boost, or Modbus Slave |
| Current Limit | Maximum charging current in amps |
| Front Panel LEDs | Toggle the charger’s status lights on or off |
| DNO Fuse Size | Incoming supply fuse rating (40–100 A) - keeps the charger within your supply capacity |
| Randomised Delay | Delay applied at session start for load spreading (600–1800 s, in 60 s steps) |
| Suspended Timeout | How long the charger waits in a suspended state before giving up (0–700 s) |
EV Charger schedule (OCPP only)
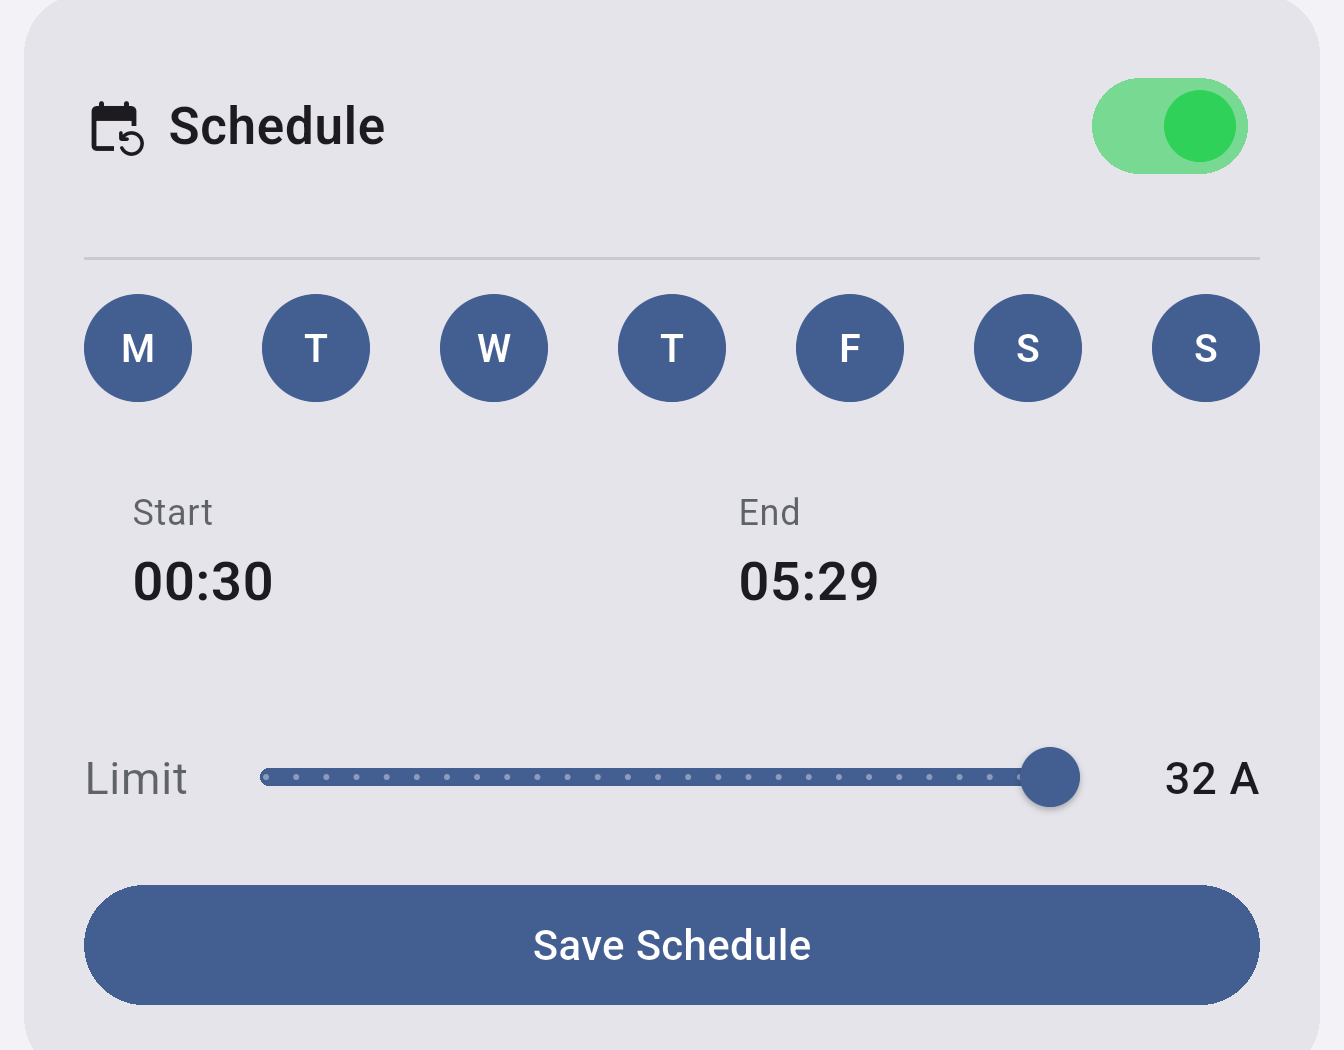
Section titled “EV Charger schedule (OCPP only)”The EV Charger has its own schedule, separate from the inverter charge/discharge schedules. Enable the schedule, choose which days it applies, set start and end times, and choose a current limit for that window. The schedule runs on the charger itself - your phone doesn’t need to be present.
INVLocal is an independent product. It is not affiliated with, endorsed by, or supported by GivEnergy. GivEnergy is a trade mark of its owner and is used here only to describe hardware compatibility.